Pickled foods are global. No matter what country you are in, you are likely to find them in some form or another. Not only do they span across the world geographically, but also back in time. The reason why it is used far and wide and has been for a very long time is the simple reason why it came to be: to preserve food.
One thing that needs to be highlighted, because it can cause confusion, is the difference between pickling and fermenting. The simplest reason why they are sometimes confused is because fermenting is a type of pickling. Pickling is simply defined as preserving something in a liquid. Both generate a distinct sour taste, but while fermenting achieves this through a breakdown in sugars by bacteria, pickling involves soaking the foods in an acidic liquid and adding heat, which is in part done to kill bacteria. Due to this difference in method, pickling doesn’t produce the same probiotic and enzymatic qualities of fermented foods.
You might be thinking: well why are we looking at pickling rather than fermenting then? The main reason is because pickling is quicker and easier plus a great first step into preserving while still generating great flavour. And trust me, adding sour flavours to a dish can make such a difference to the plate.
I want you to get excited about new flavours and trying new things so we are going to go with something quick and easy to get you going and wet your appetite. The more people who get excited about good, healthy food and cooking, the better. From experience I can tell you how satisfying it is to be able to change ingredients, whose flavour you don’t like, into something new.
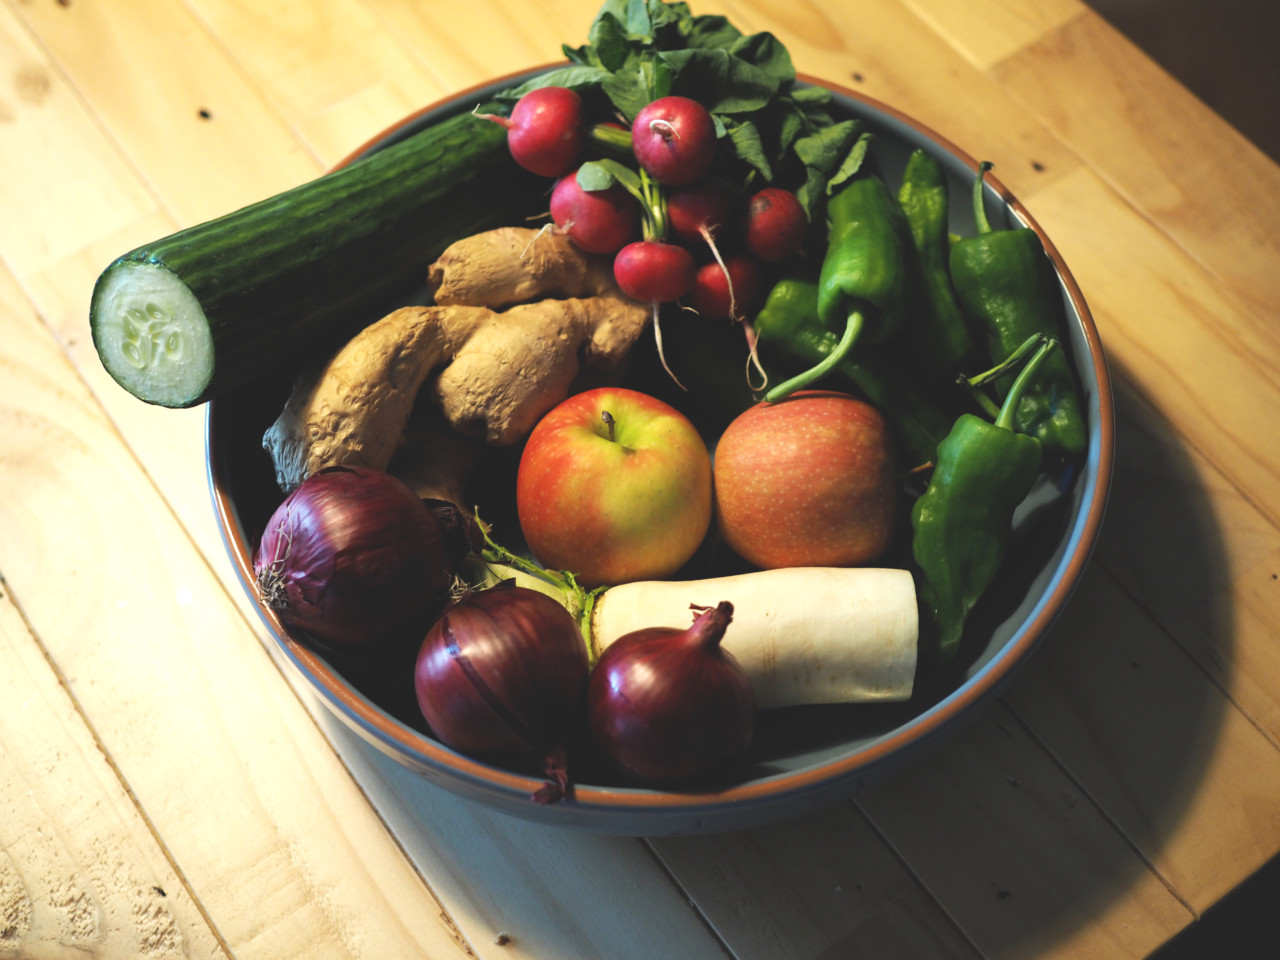
Now pickled food isn’t usually the main ingredient on a dish, but rather complimentary and it gives you a great way of using up some leftover veg. So the variants I have done for you this time are designed to give you something to go with a variety of dishes (from Asian to Mexican, fish to pork and salad to sushi), but also to illustrate how you can use leftovers. Let’s quick pickle!
How to Fast Pickle
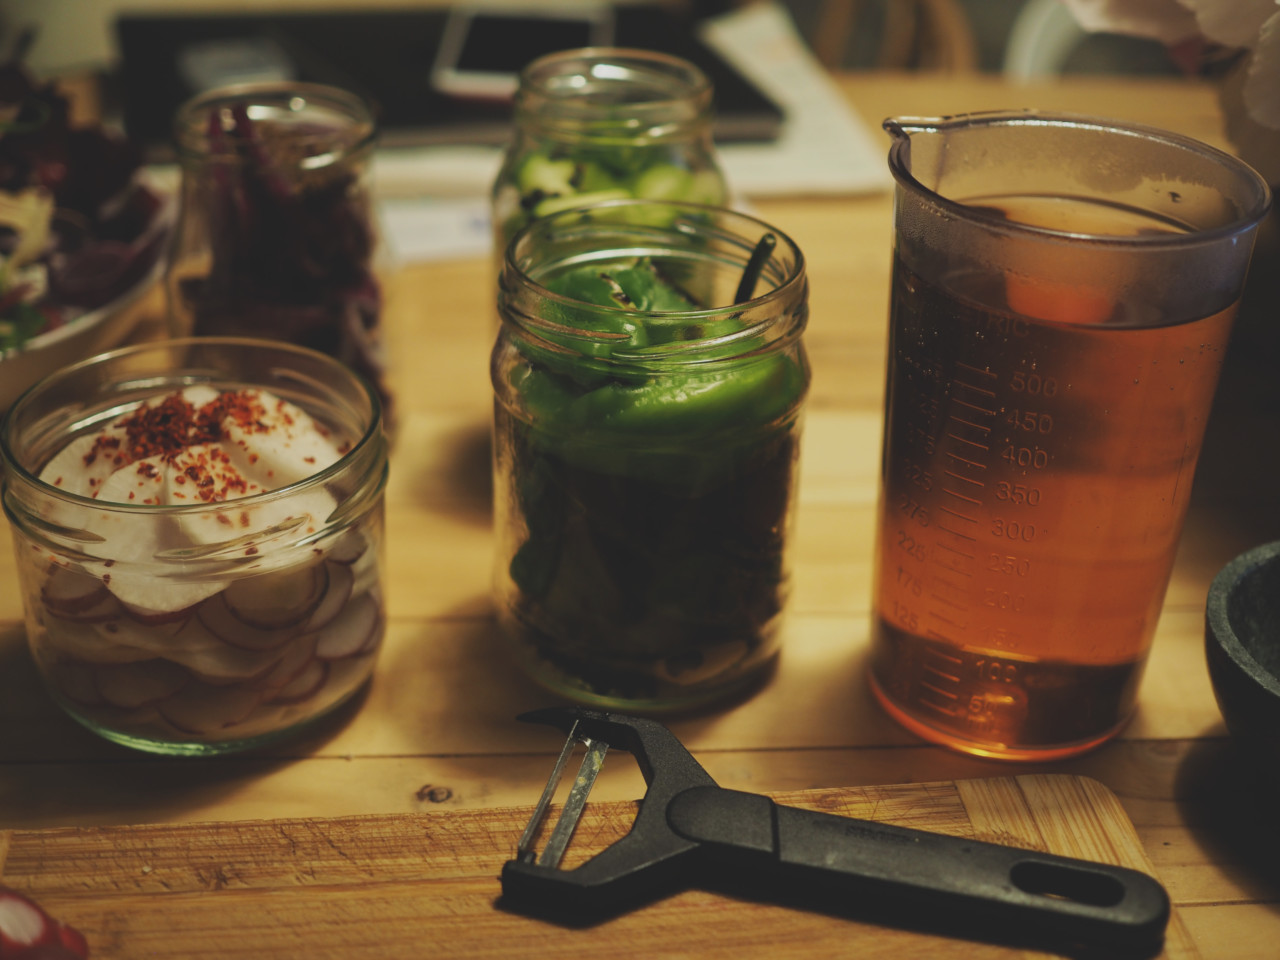
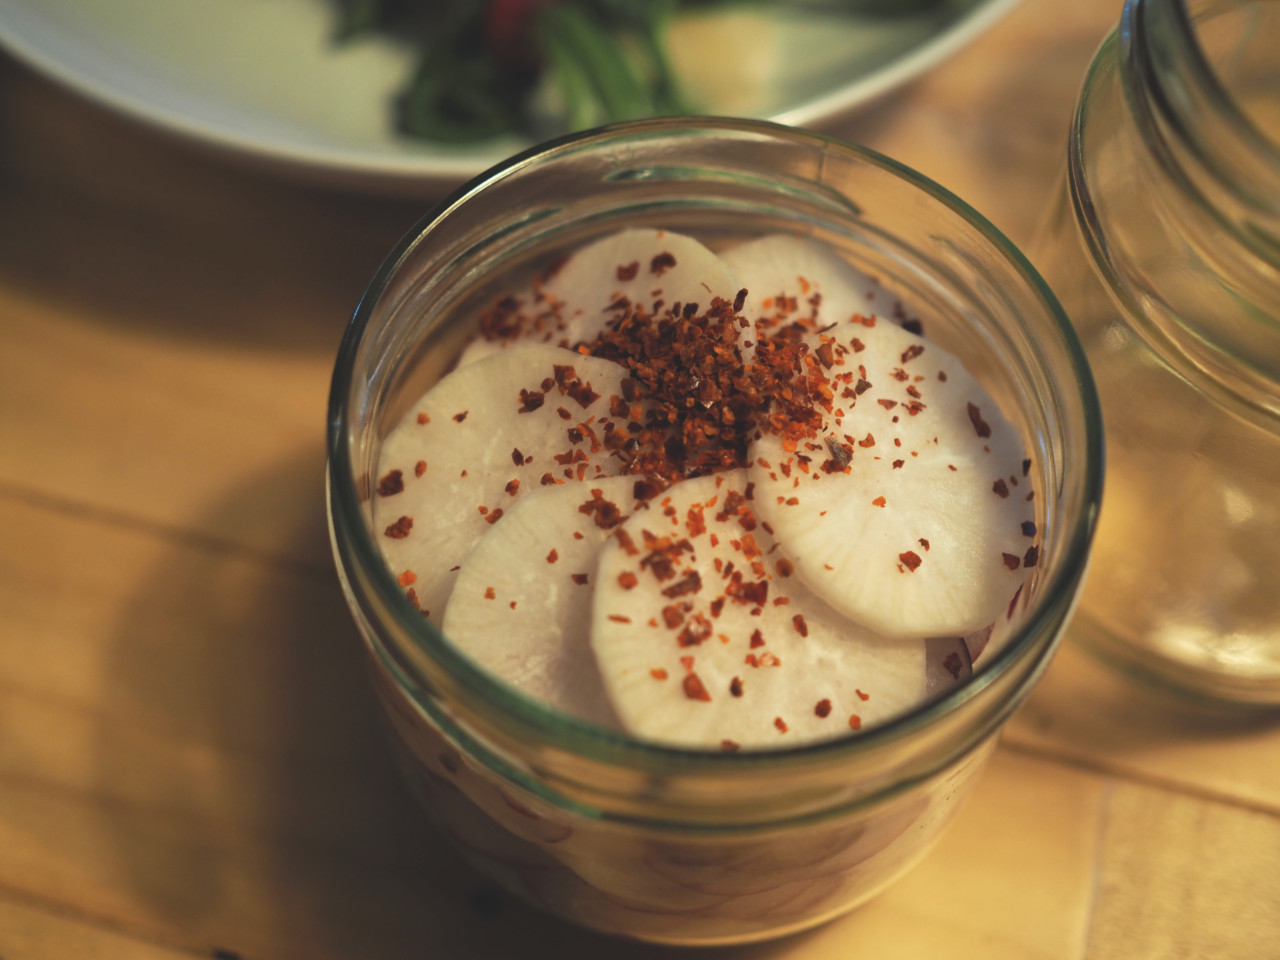
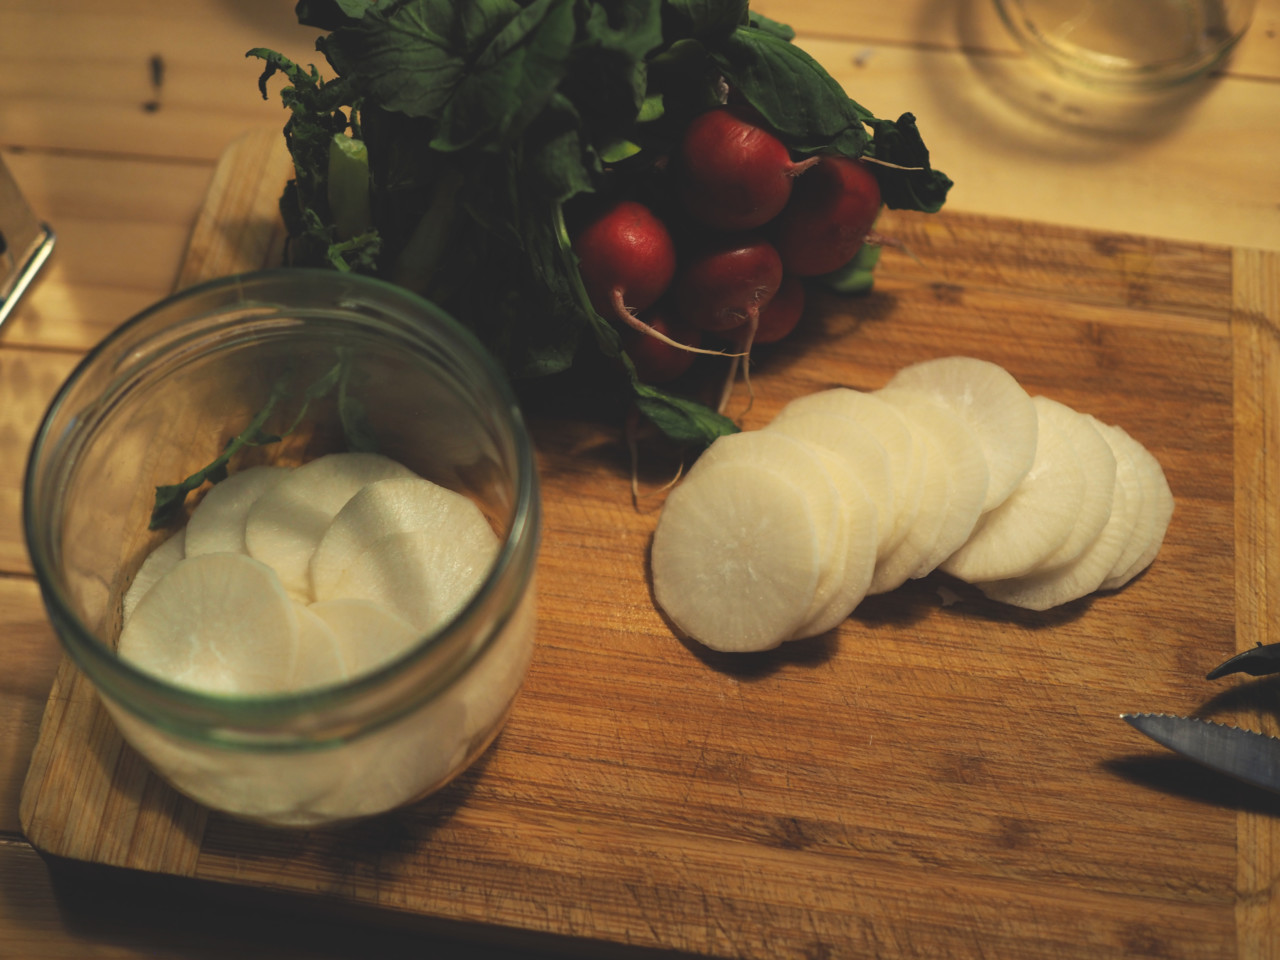
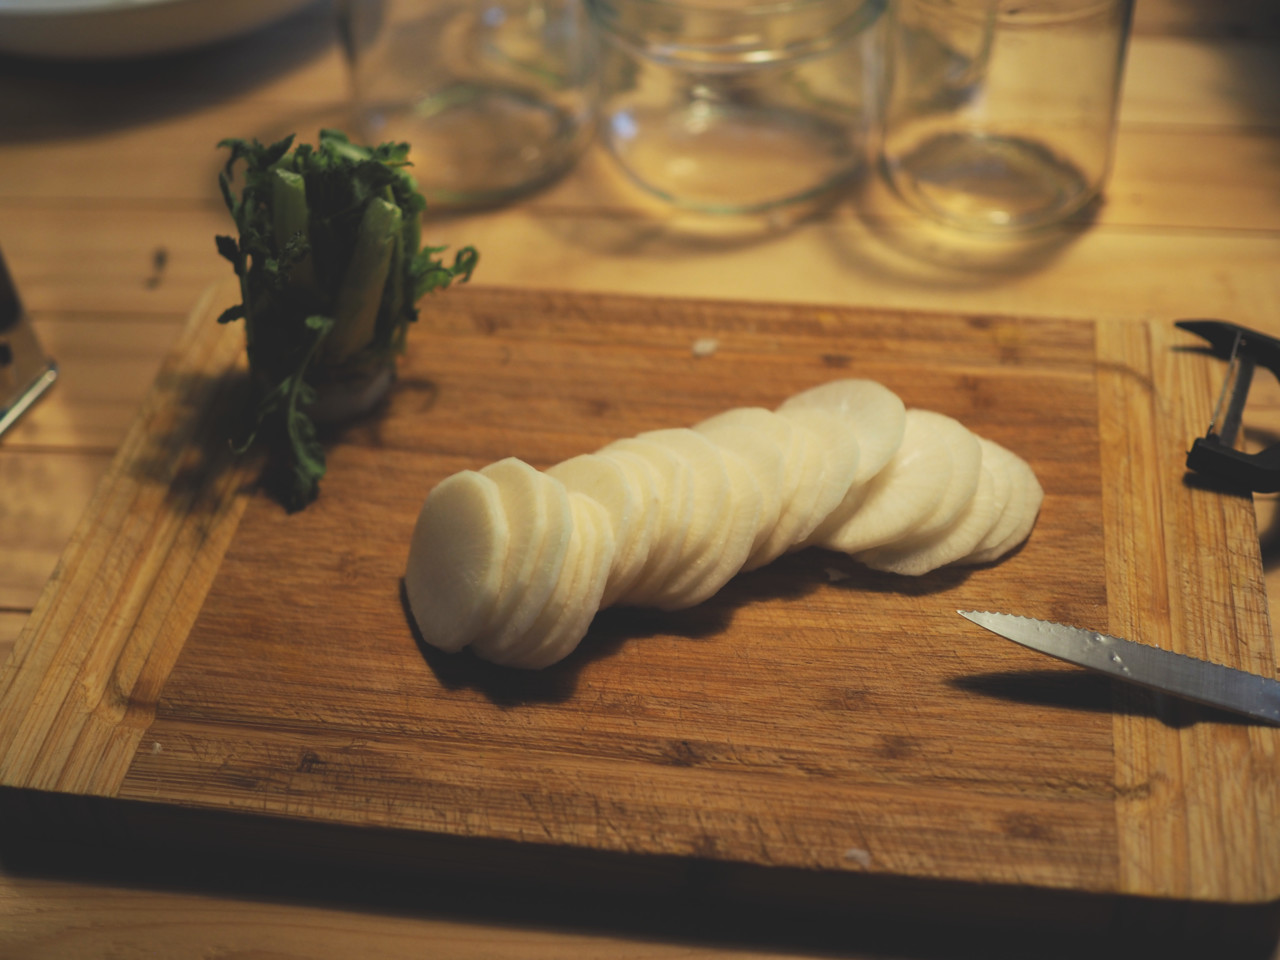
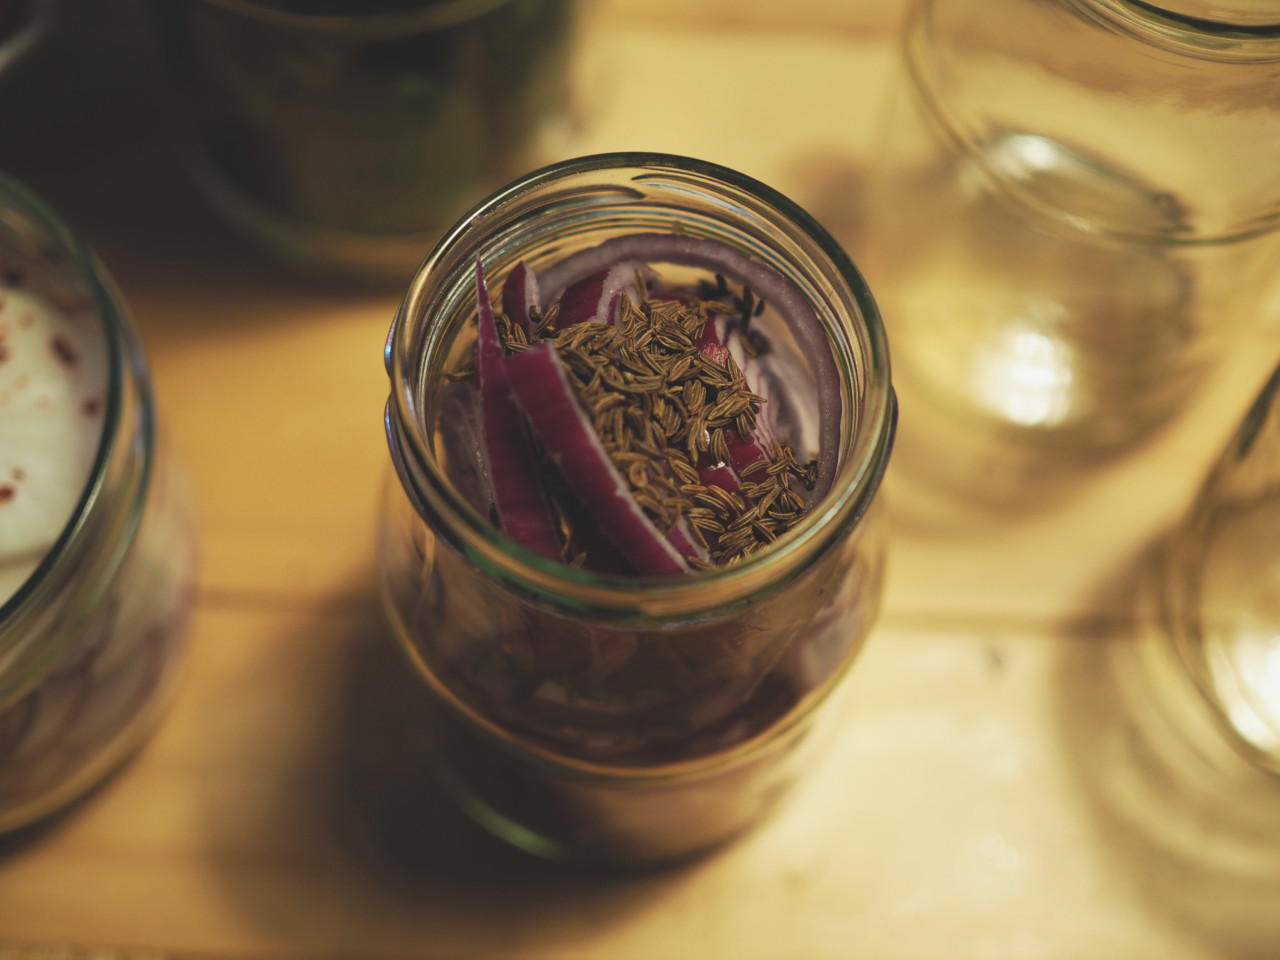
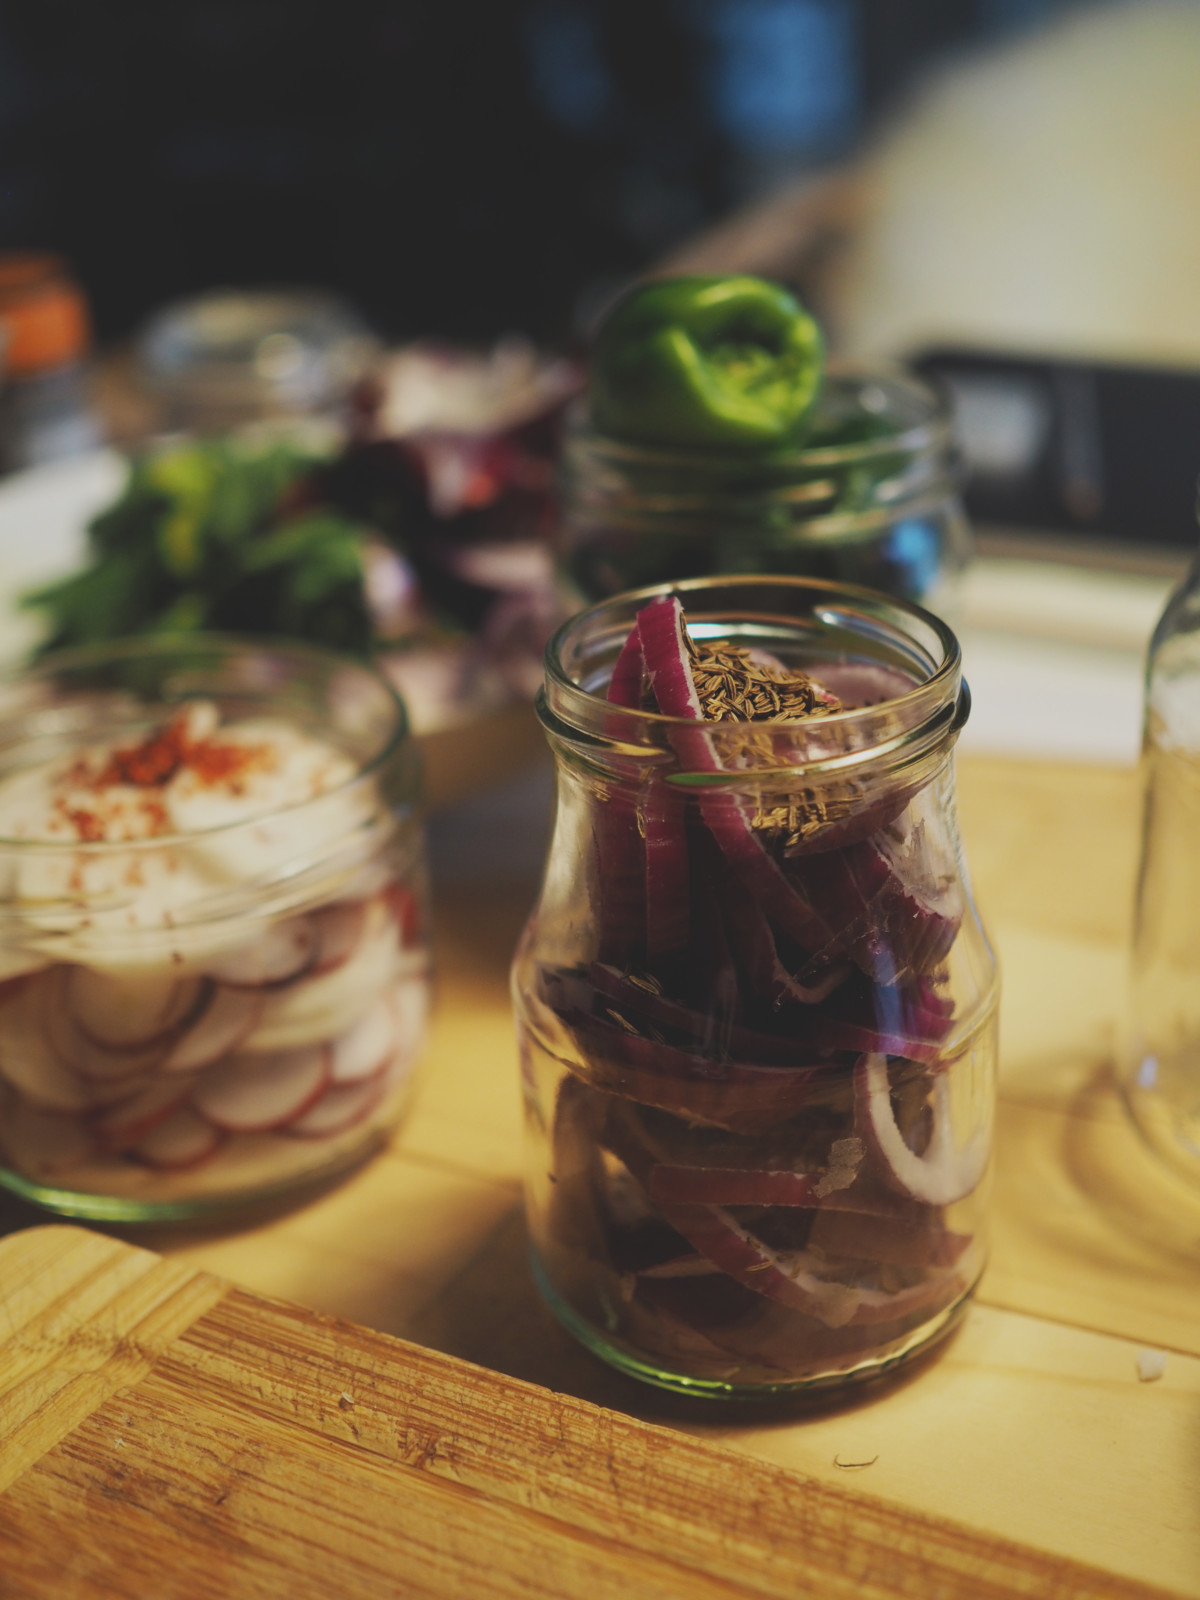
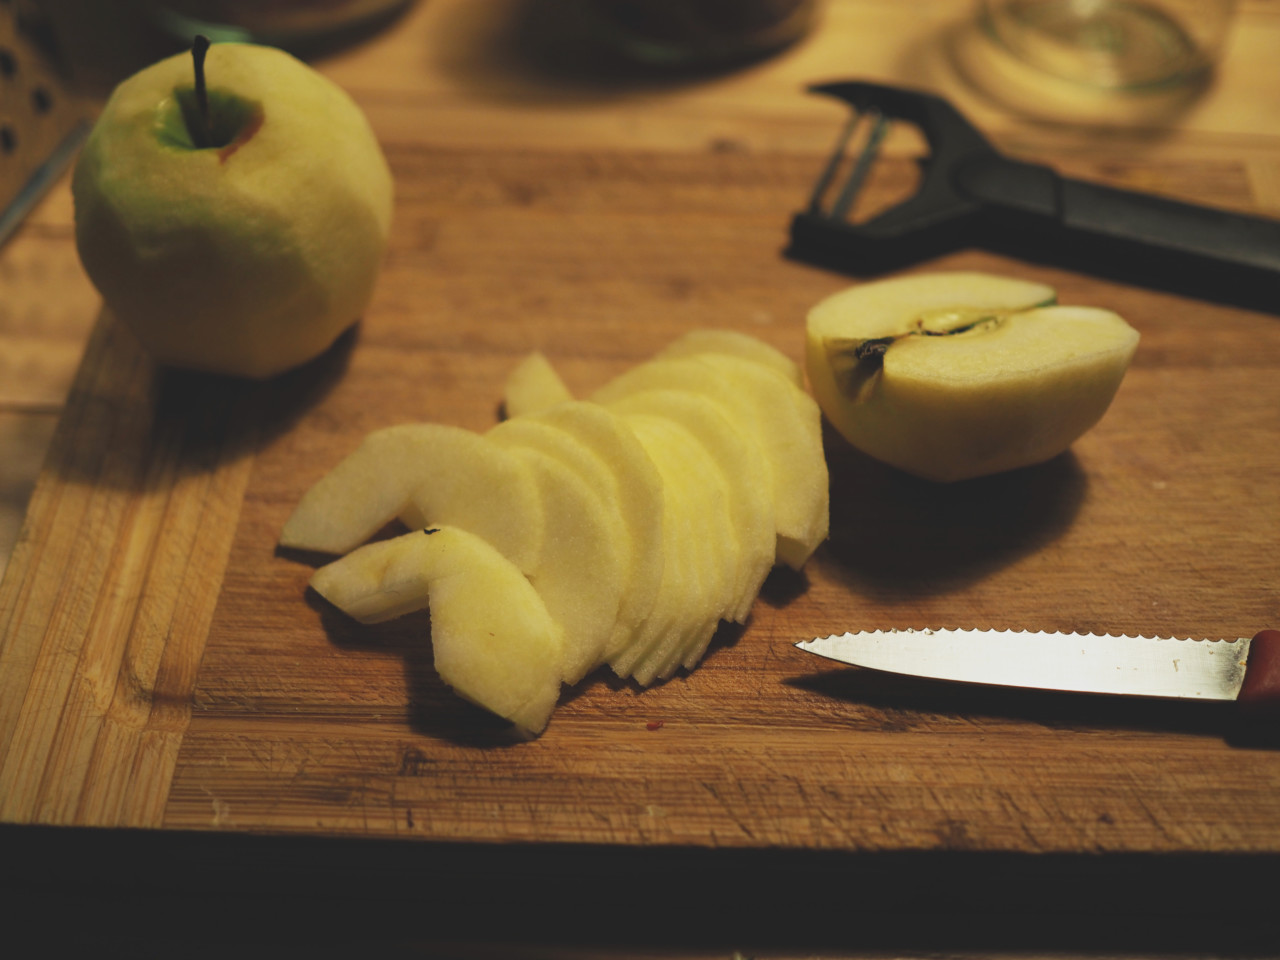
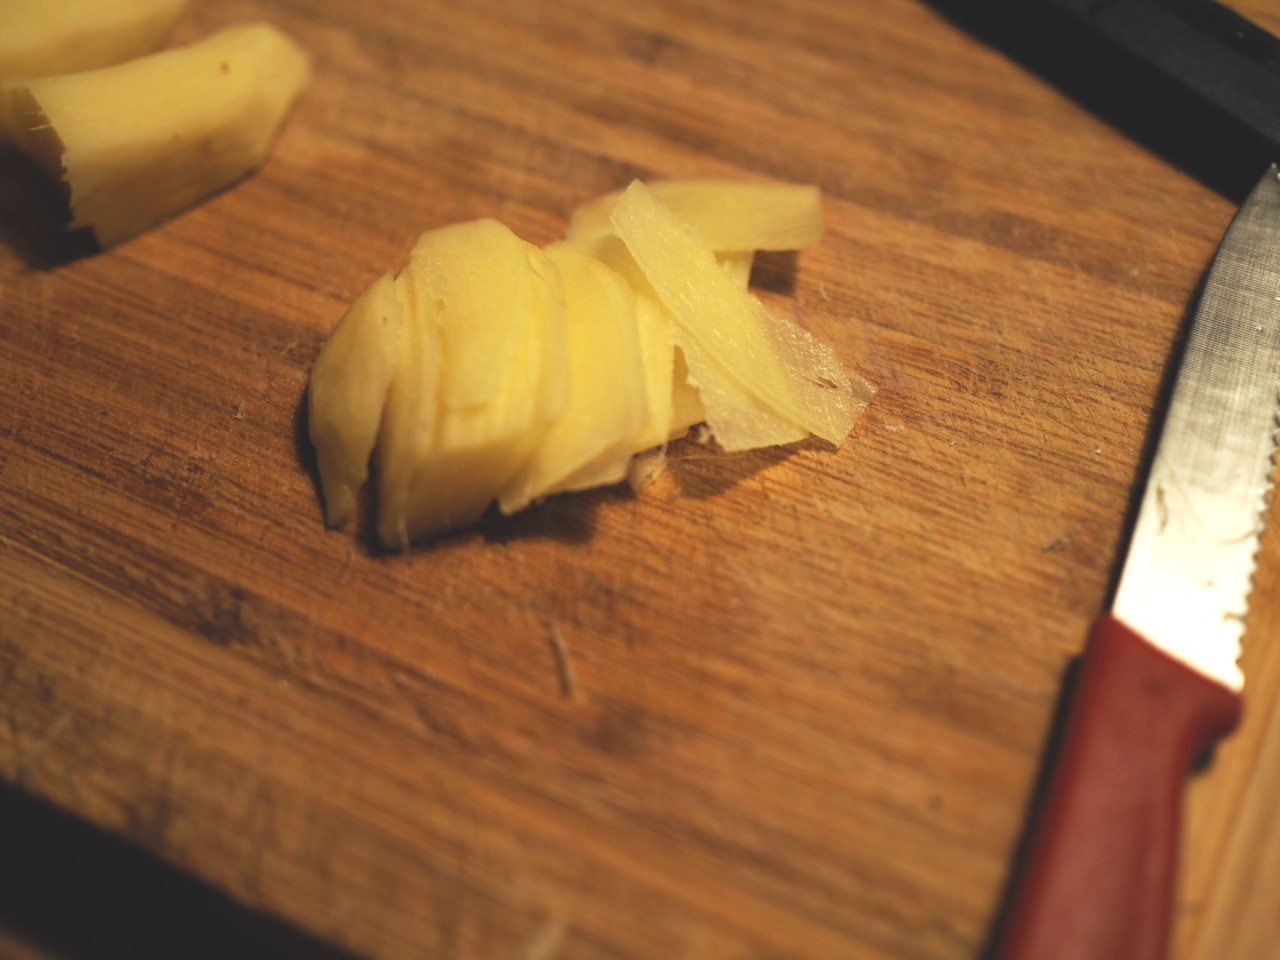
- Peel, chop and fill veg into a jar
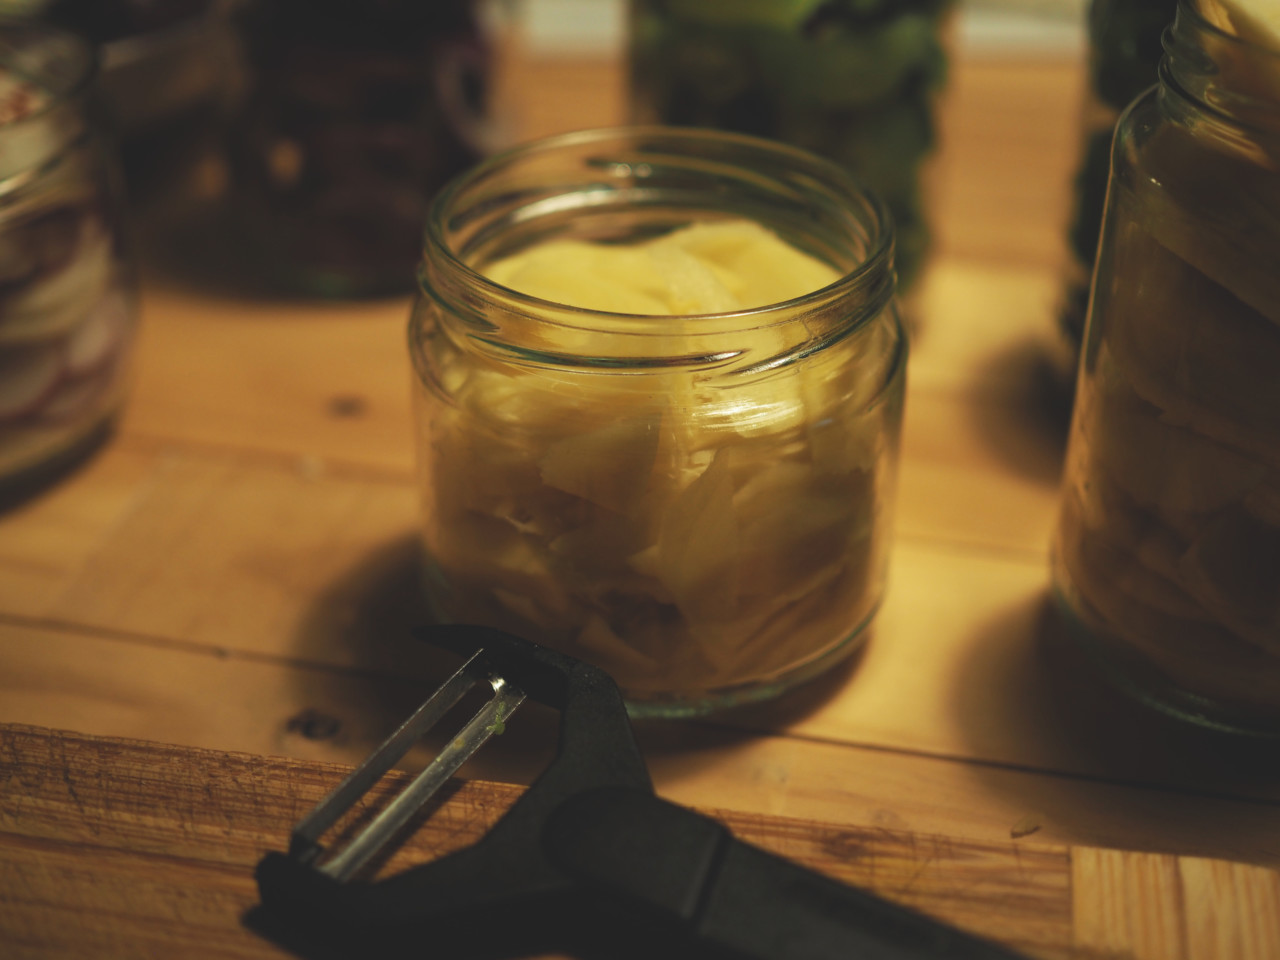
- Make brine and fill into jar (remove air bubbles by knocking the side)
- Let it cool to room temp, then consume or store in fridge
Brine (per glass)
1/3 – 1/2 cup Water
1/3 – 1/2 cup White Wine Vinegar (Cider Vinegar also an option but will make a cloudy result, for the ginger Rice Wine Vinegar)
1 – 2 tbsp Maple Syrup (Honey is also an option)
1 – 2 tsp Salt
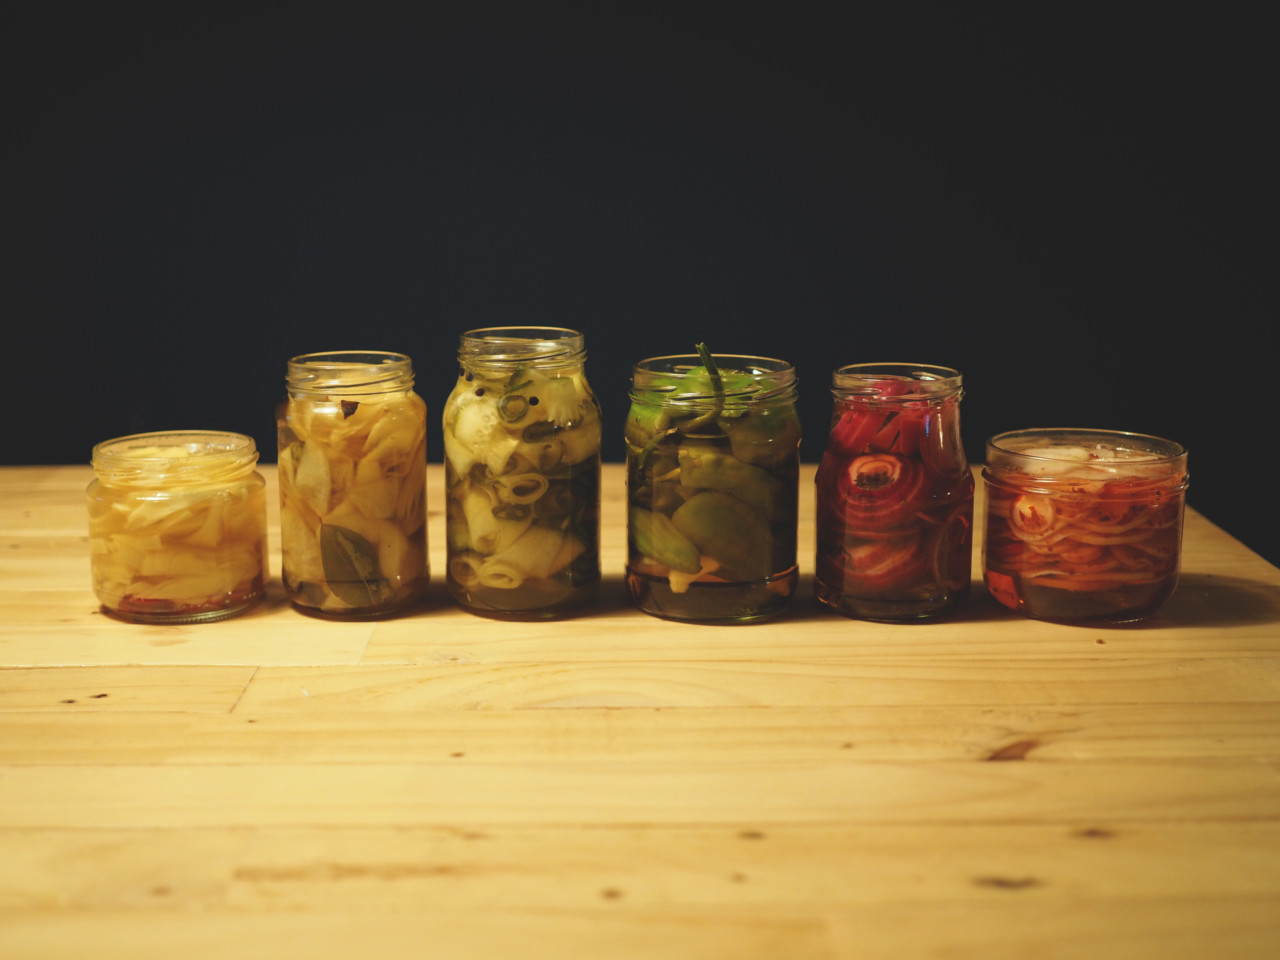
Pickles
1. Radish, Chilli Flakes
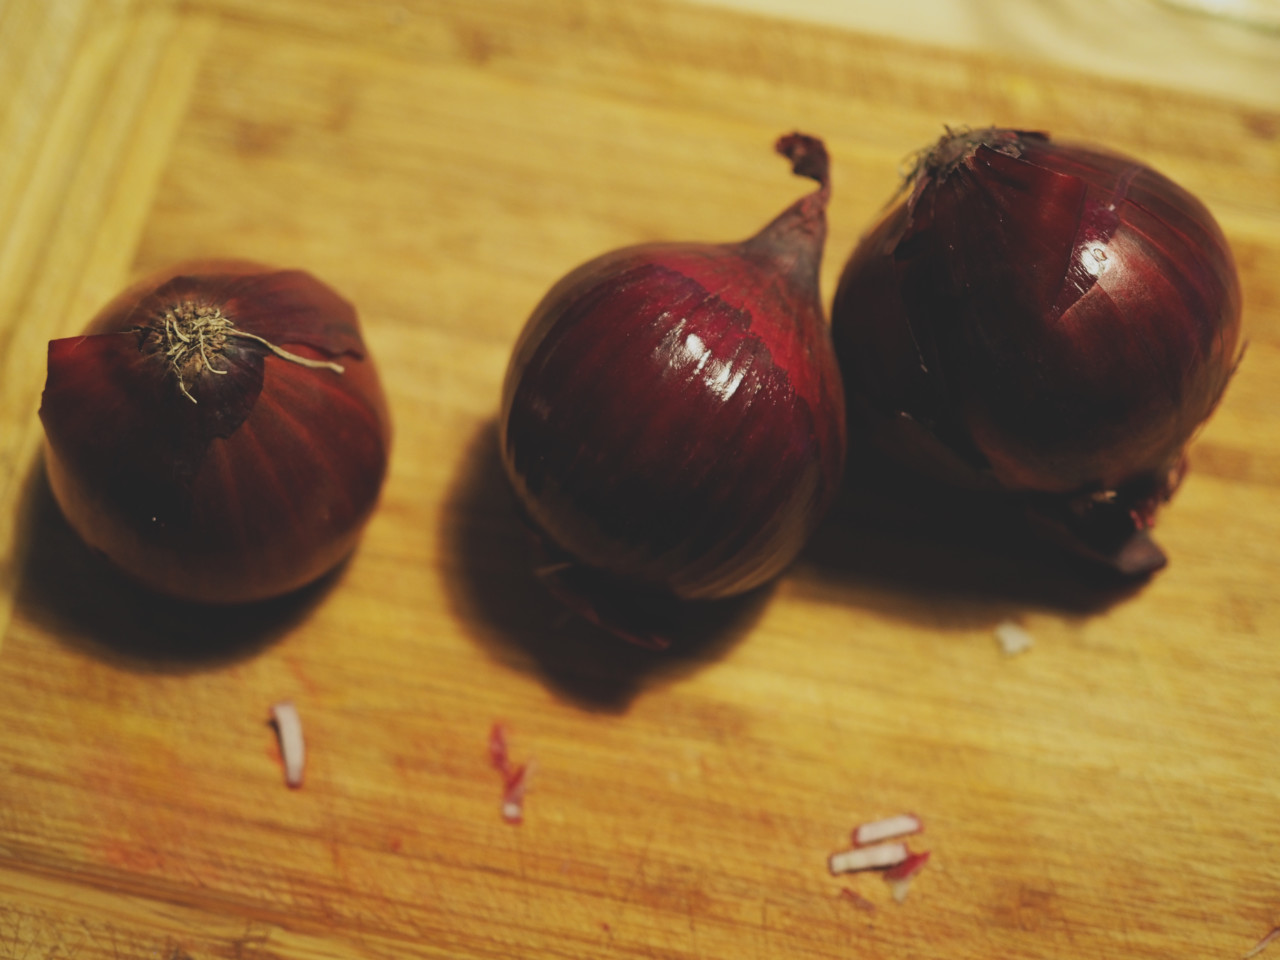
2. Onion, Cumin
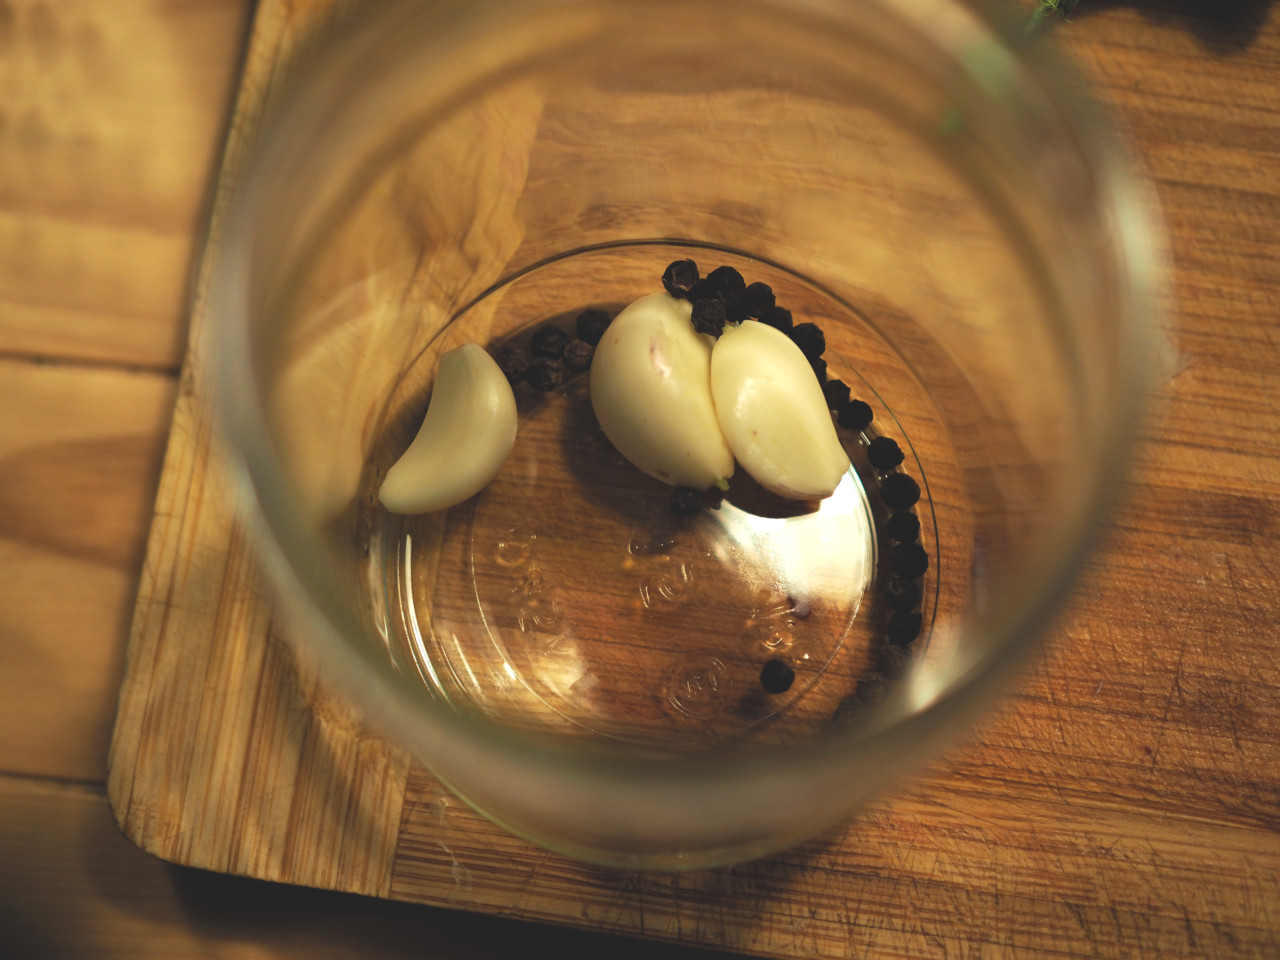
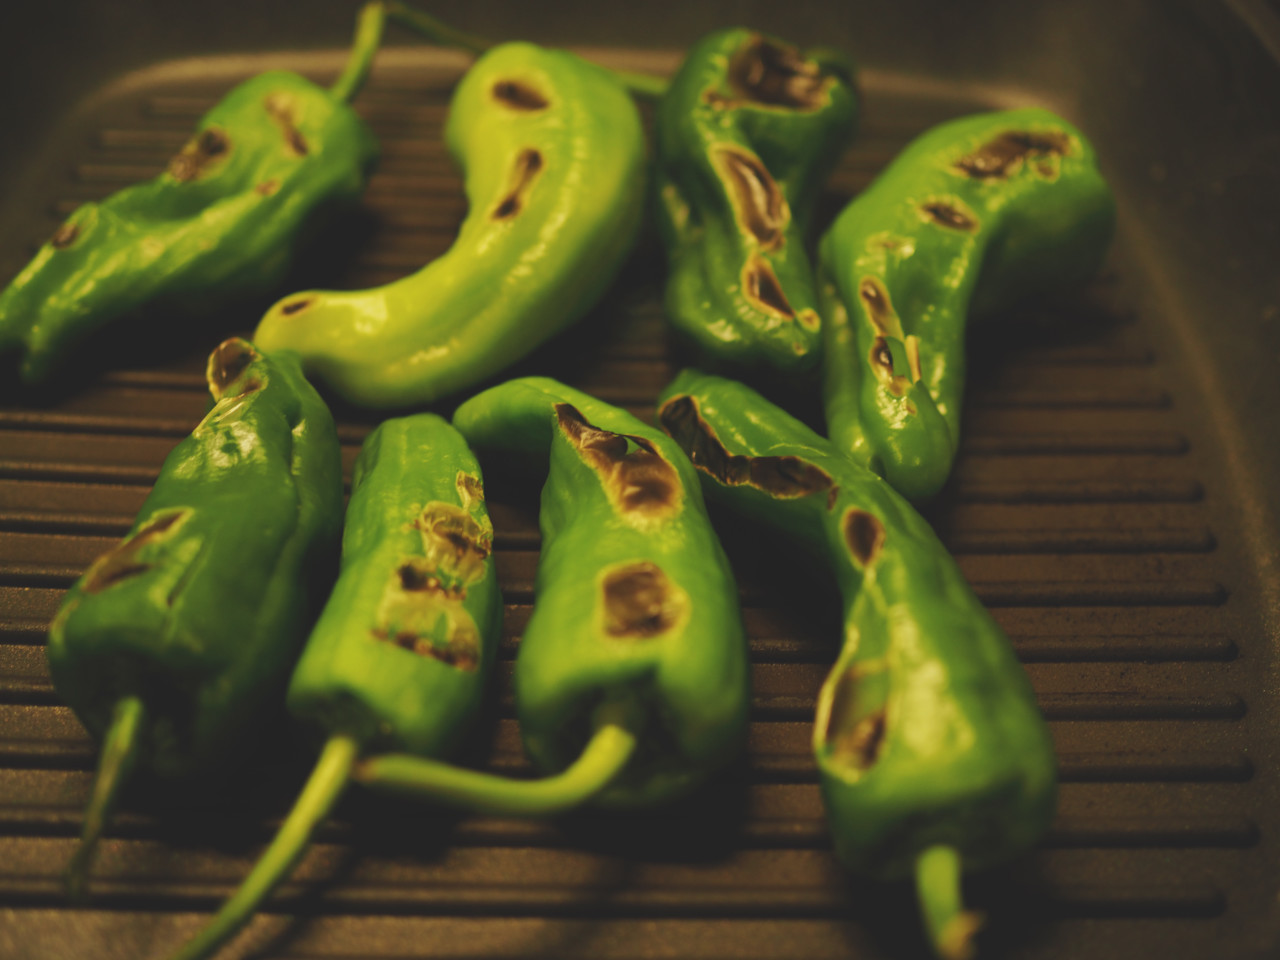
3. Pardon Peppers, Garlic, Peppercorns
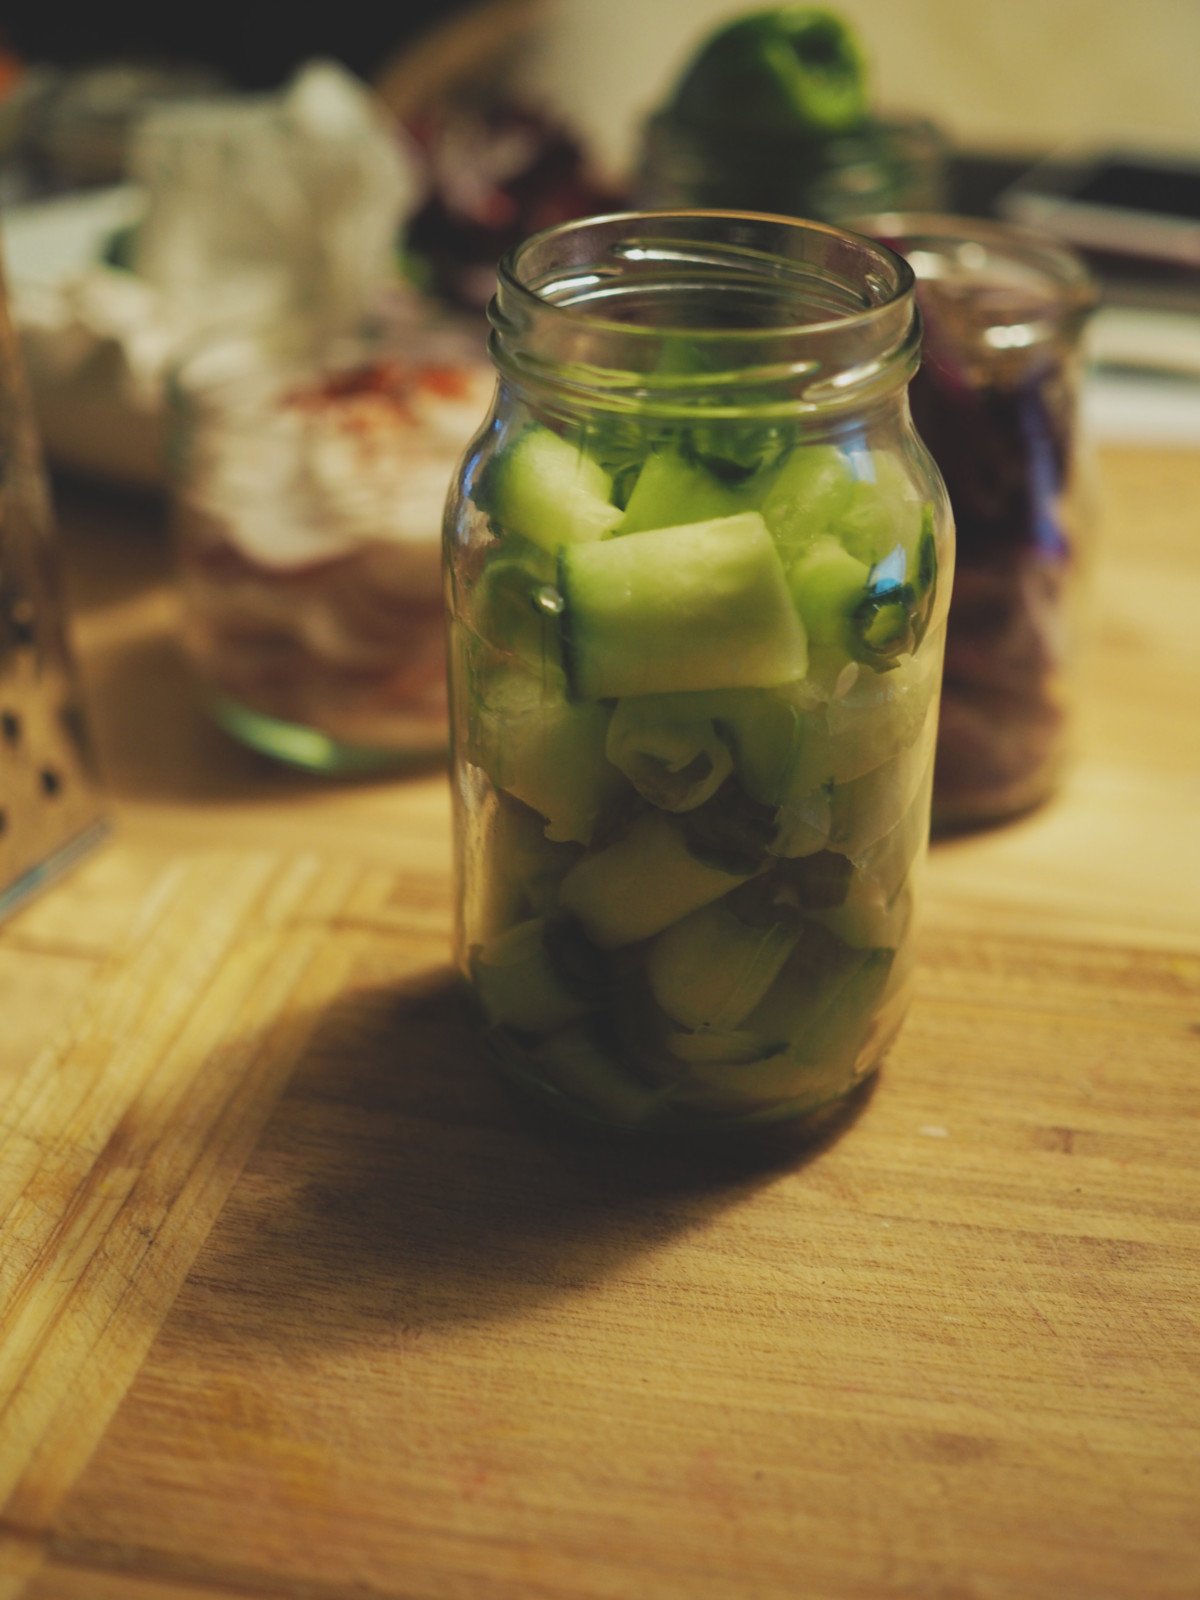
4. Cucumber, Dill, Peppercorns
5. Apple, Curry Leaves, Star Anise, (extra spoon of Maple Syrup in the brine)
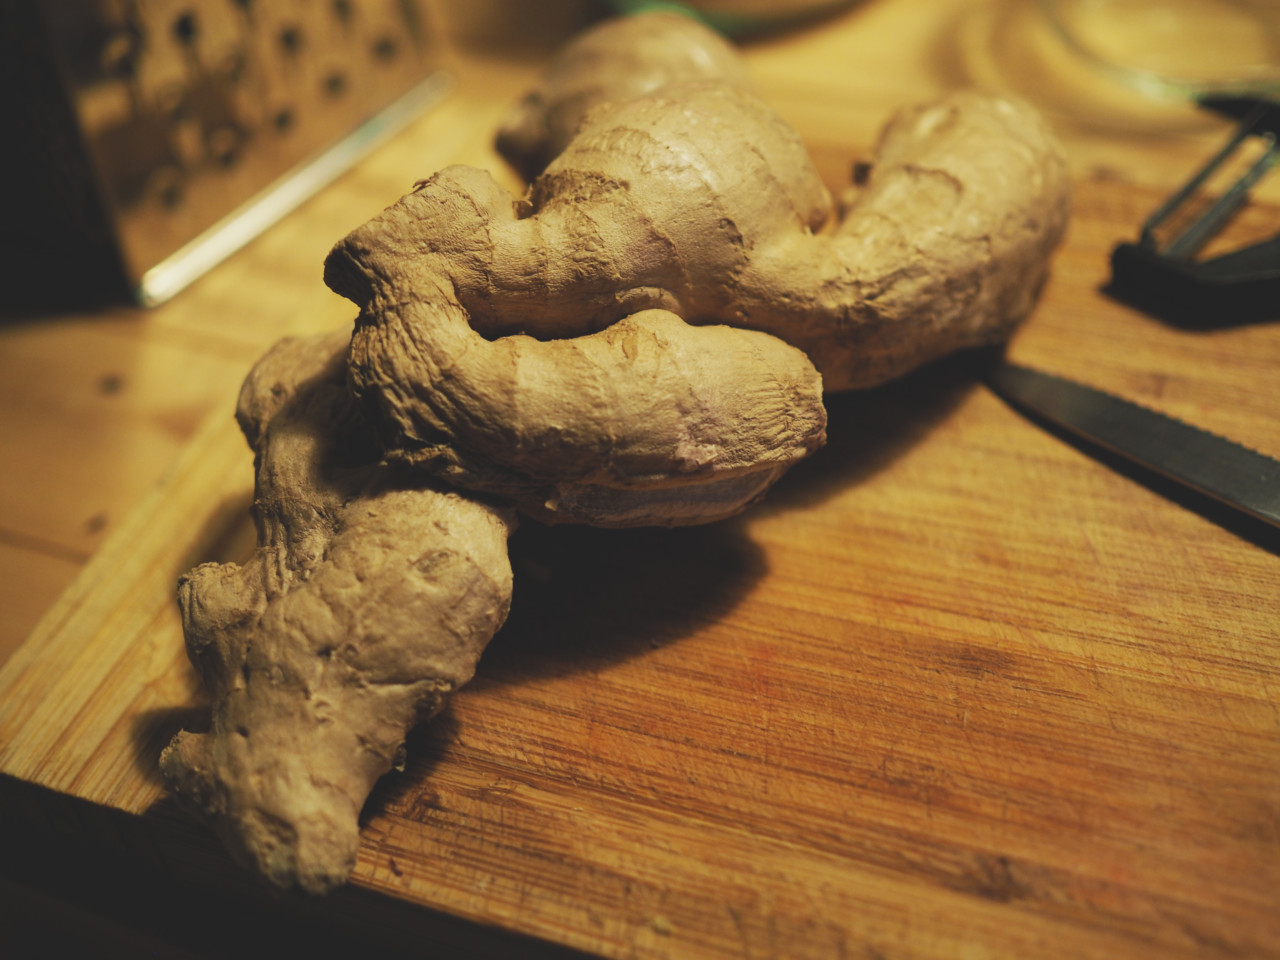
6. Ginger (cured with some extra salt for 30 mins), Radish Tops, (Brine with Rice Wine Vinegar instead of White Wine Vinegar)
Now all that is left is for you to try it for yourself and let us know what creations you have made. Have fun!







Love this! I tried pickling mangos a few weeks ago – amazing!
Horrible photos. Sorry.
Hi Petra, it’s a shame that you don’t like the photos. The pickles taste fantastic though 🙂